${var}という書き方が非推奨になったから{$var}に変更してね!ってエラー
PHP Deprecated: Using ${var} in strings is deprecated, use {$var} instead in
$mail_body  = "お名前:${name}\n";
↓変更
$mail_body  = "お名前:{$name}\n";
phpで${var}の記述が非推奨になり{$var}で統一するらしい
書き換える為に、${で書かれてるファイルを検索する
書き換える為に、${で書かれてるファイルを検索する
拡張子が.phpのファイル内検索を行う
$ grep -ilr --include='*.php' '${' /www/*

オプション
i 大文字と小文字の区別を無視
l 一致したファイル名のみ表示
r サブディレクトリ内も検索

拡張子を複数指定する場合
$ grep -ilr --include={*.php,*.html} '${' /www/*
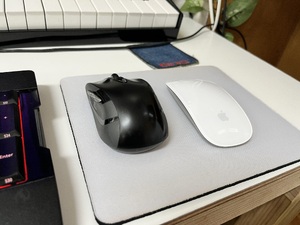
小物箱の整理をしていて、
2012年に購入したMagic Mouse(乾電池式)が出てきたので、
久々に使ってみることに。
(macはもう持ってないのでWindowsで)
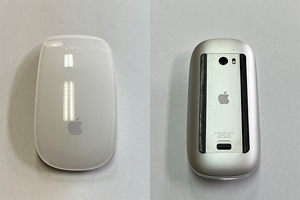
ドライバを入れたりしたけど、どうしてもマウスポインタが動かない。
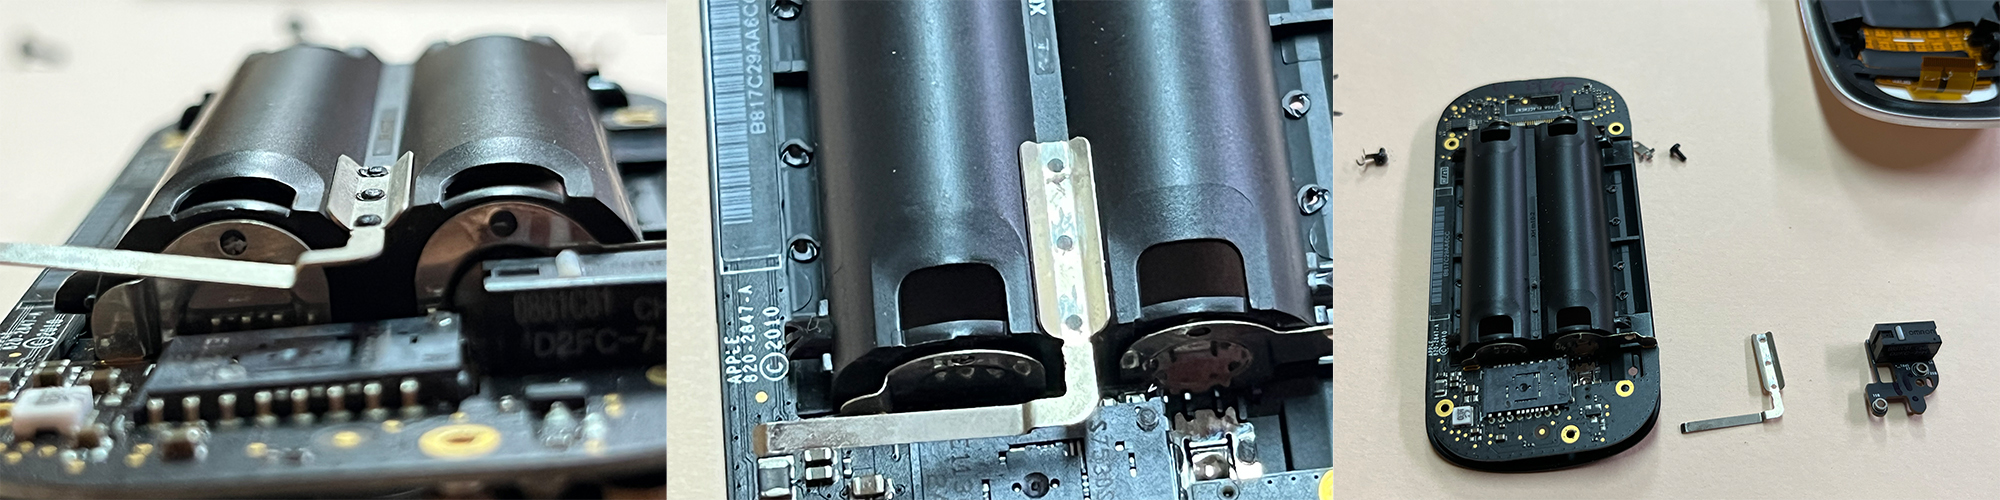
調べてみると、センサーが壊れやすいらしい。
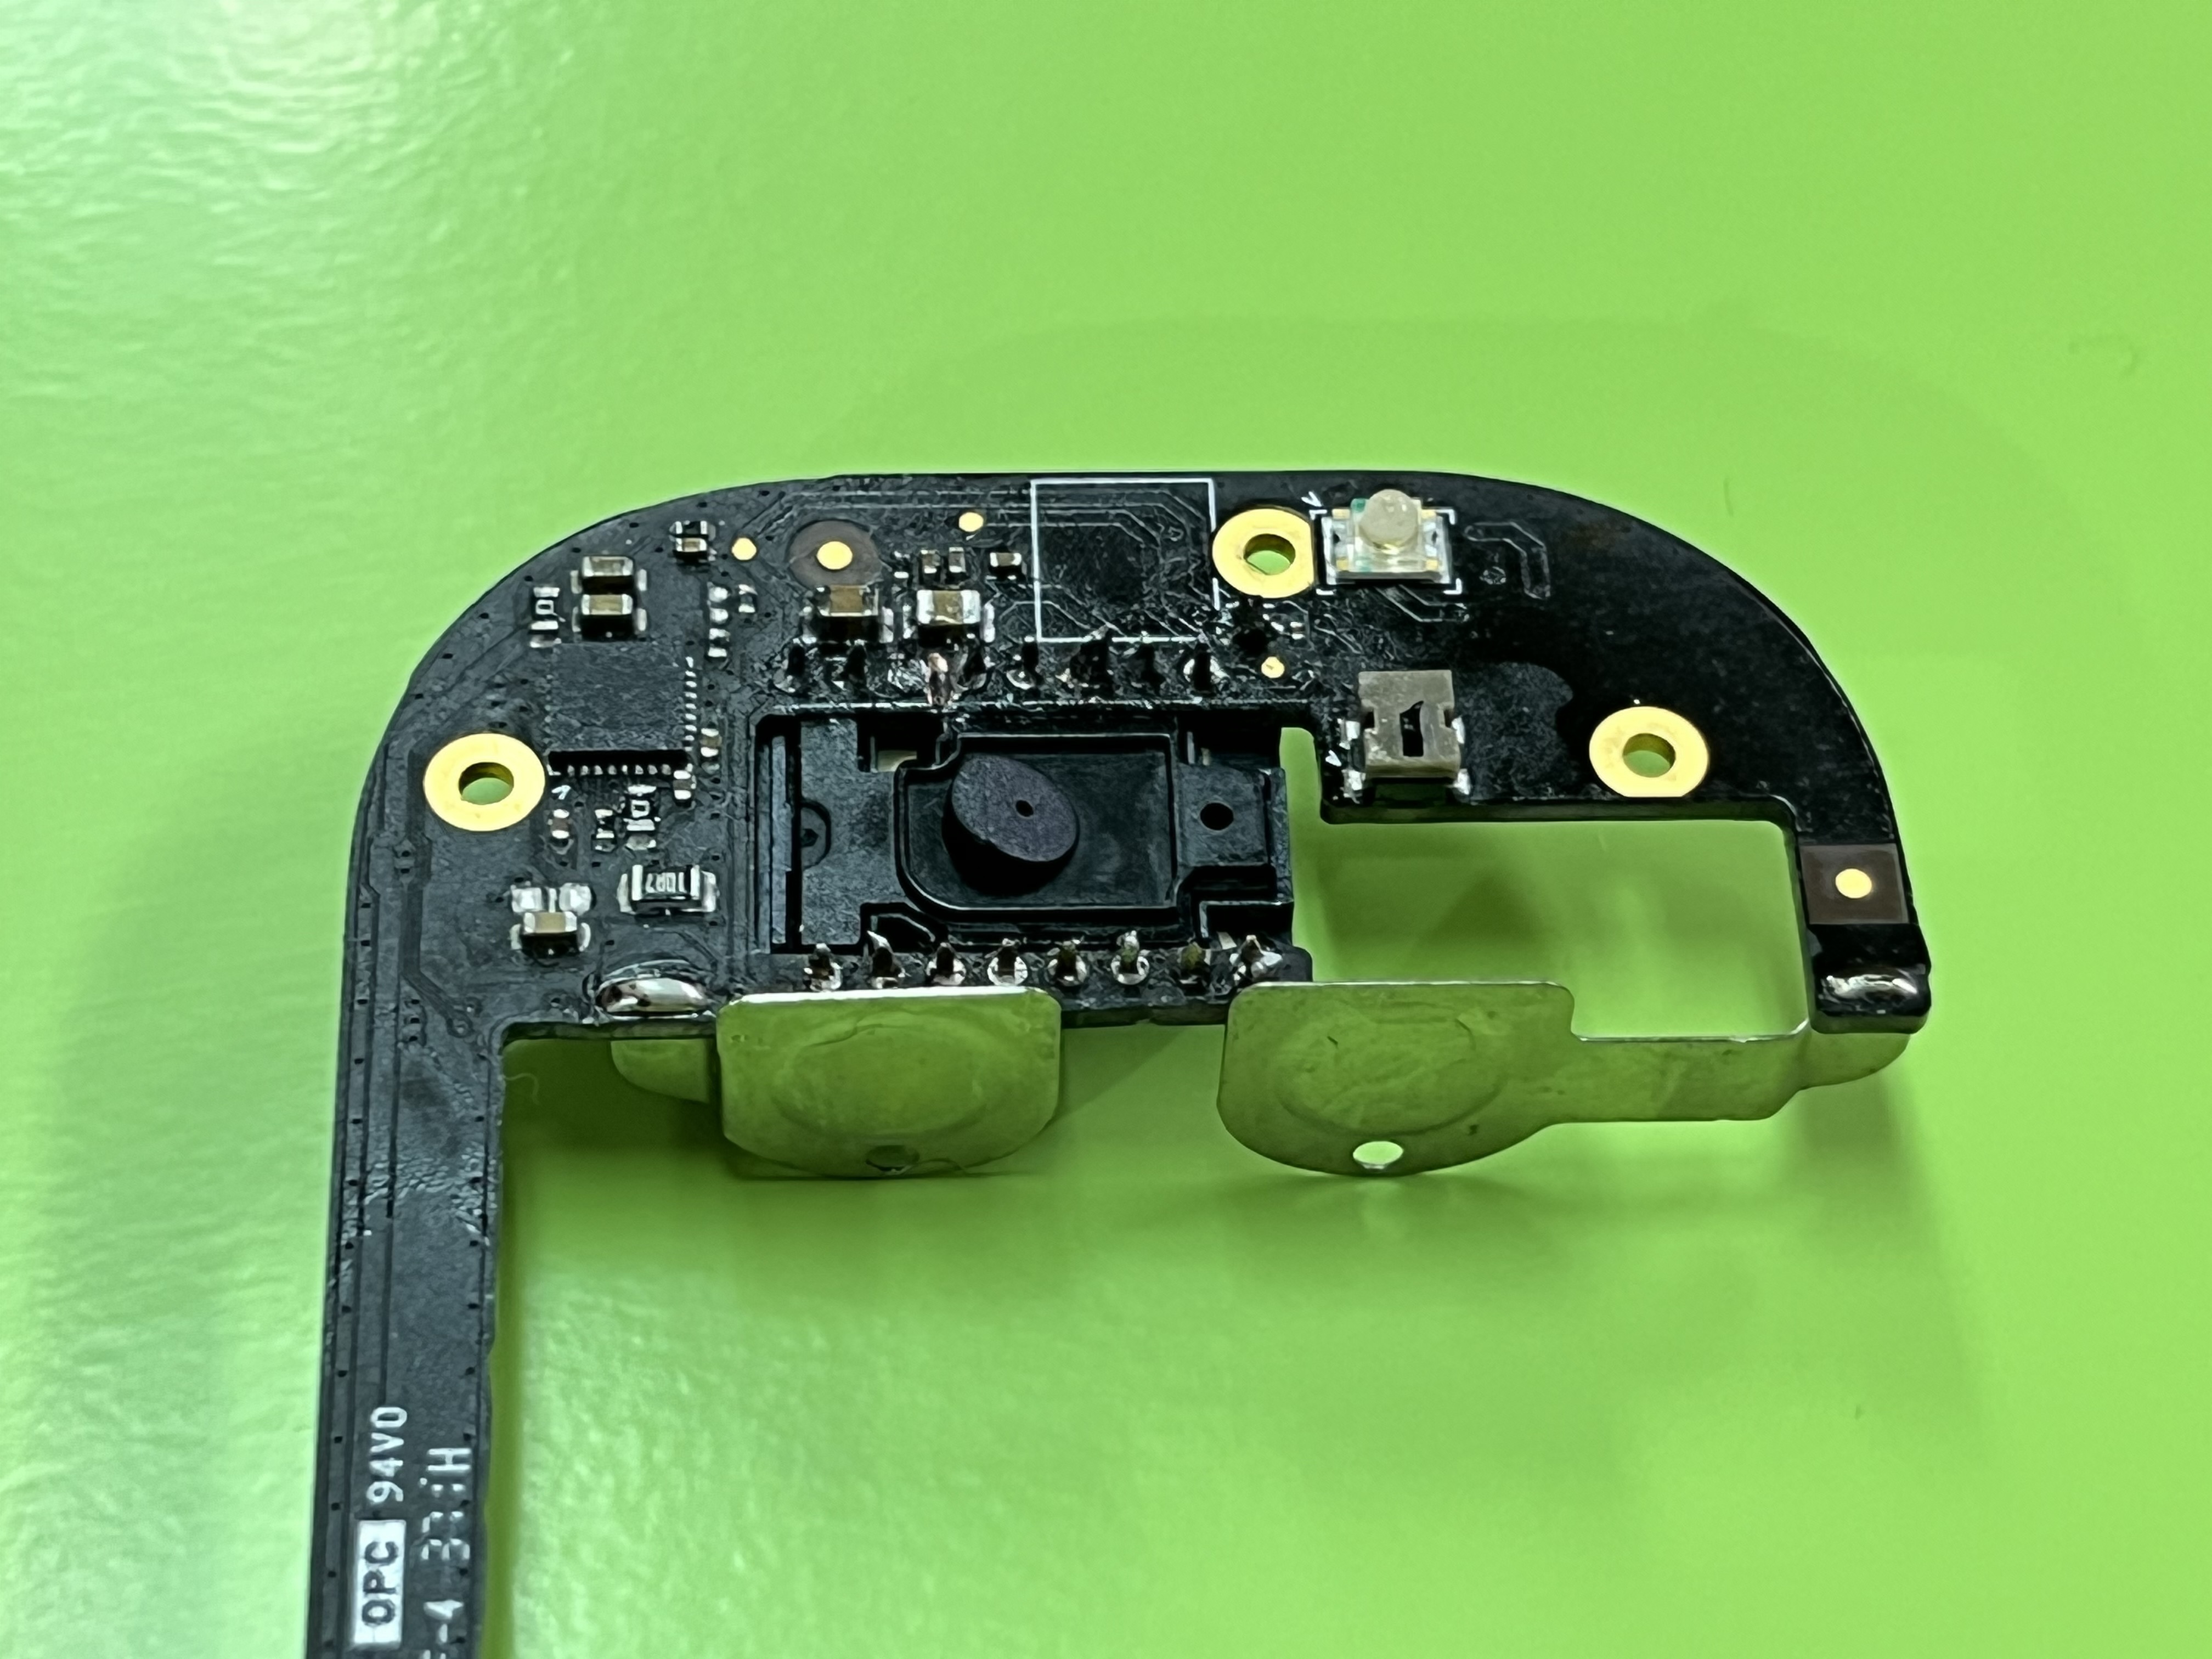
という事で、分解!
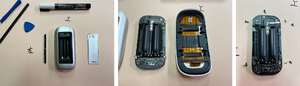
分解にもちょこちょこコツのいる箇所がありました

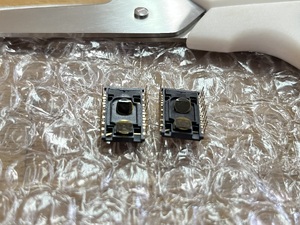
これが問題のセンサー
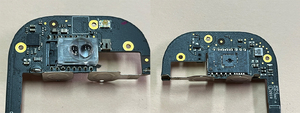
細いハンダコテ、リューター、マイクロドリルを駆使してなんとかセンサーとハンダを除去
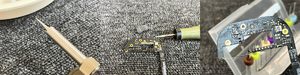
中国のECサイトAliExpressからMagic Mouseのセンサーを探して輸入
2個セットで送料合わせて1800円ぐらいでした。到着まで約1ヶ月。
🔻2 ピース/ロット S7530SLV S7530 DIP-16L - AliExpress
https://ja.aliexpress.com/item/32800837453.html
ハンダ付けに苦戦しながらも

なんとか作業完了!無事動くようになりました
2012年に購入したMagic Mouse(乾電池式)が出てきたので、
久々に使ってみることに。
(macはもう持ってないのでWindowsで)

ドライバを入れたりしたけど、どうしてもマウスポインタが動かない。
調べてみると、センサーが壊れやすいらしい。
という事で、分解!

分解にもちょこちょこコツのいる箇所がありました
これが問題のセンサー
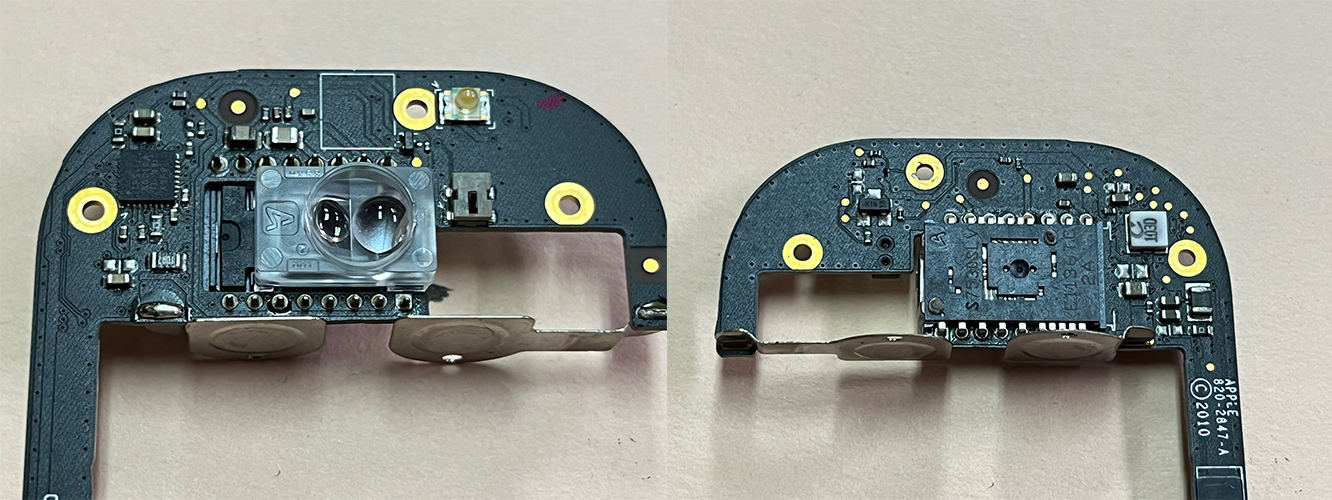
細いハンダコテ、リューター、マイクロドリルを駆使してなんとかセンサーとハンダを除去

中国のECサイトAliExpressからMagic Mouseのセンサーを探して輸入
2個セットで送料合わせて1800円ぐらいでした。到着まで約1ヶ月。
🔻2 ピース/ロット S7530SLV S7530 DIP-16L - AliExpress
https://ja.aliexpress.com/item/32800837453.html

ハンダ付けに苦戦しながらも
なんとか作業完了!無事動くようになりました

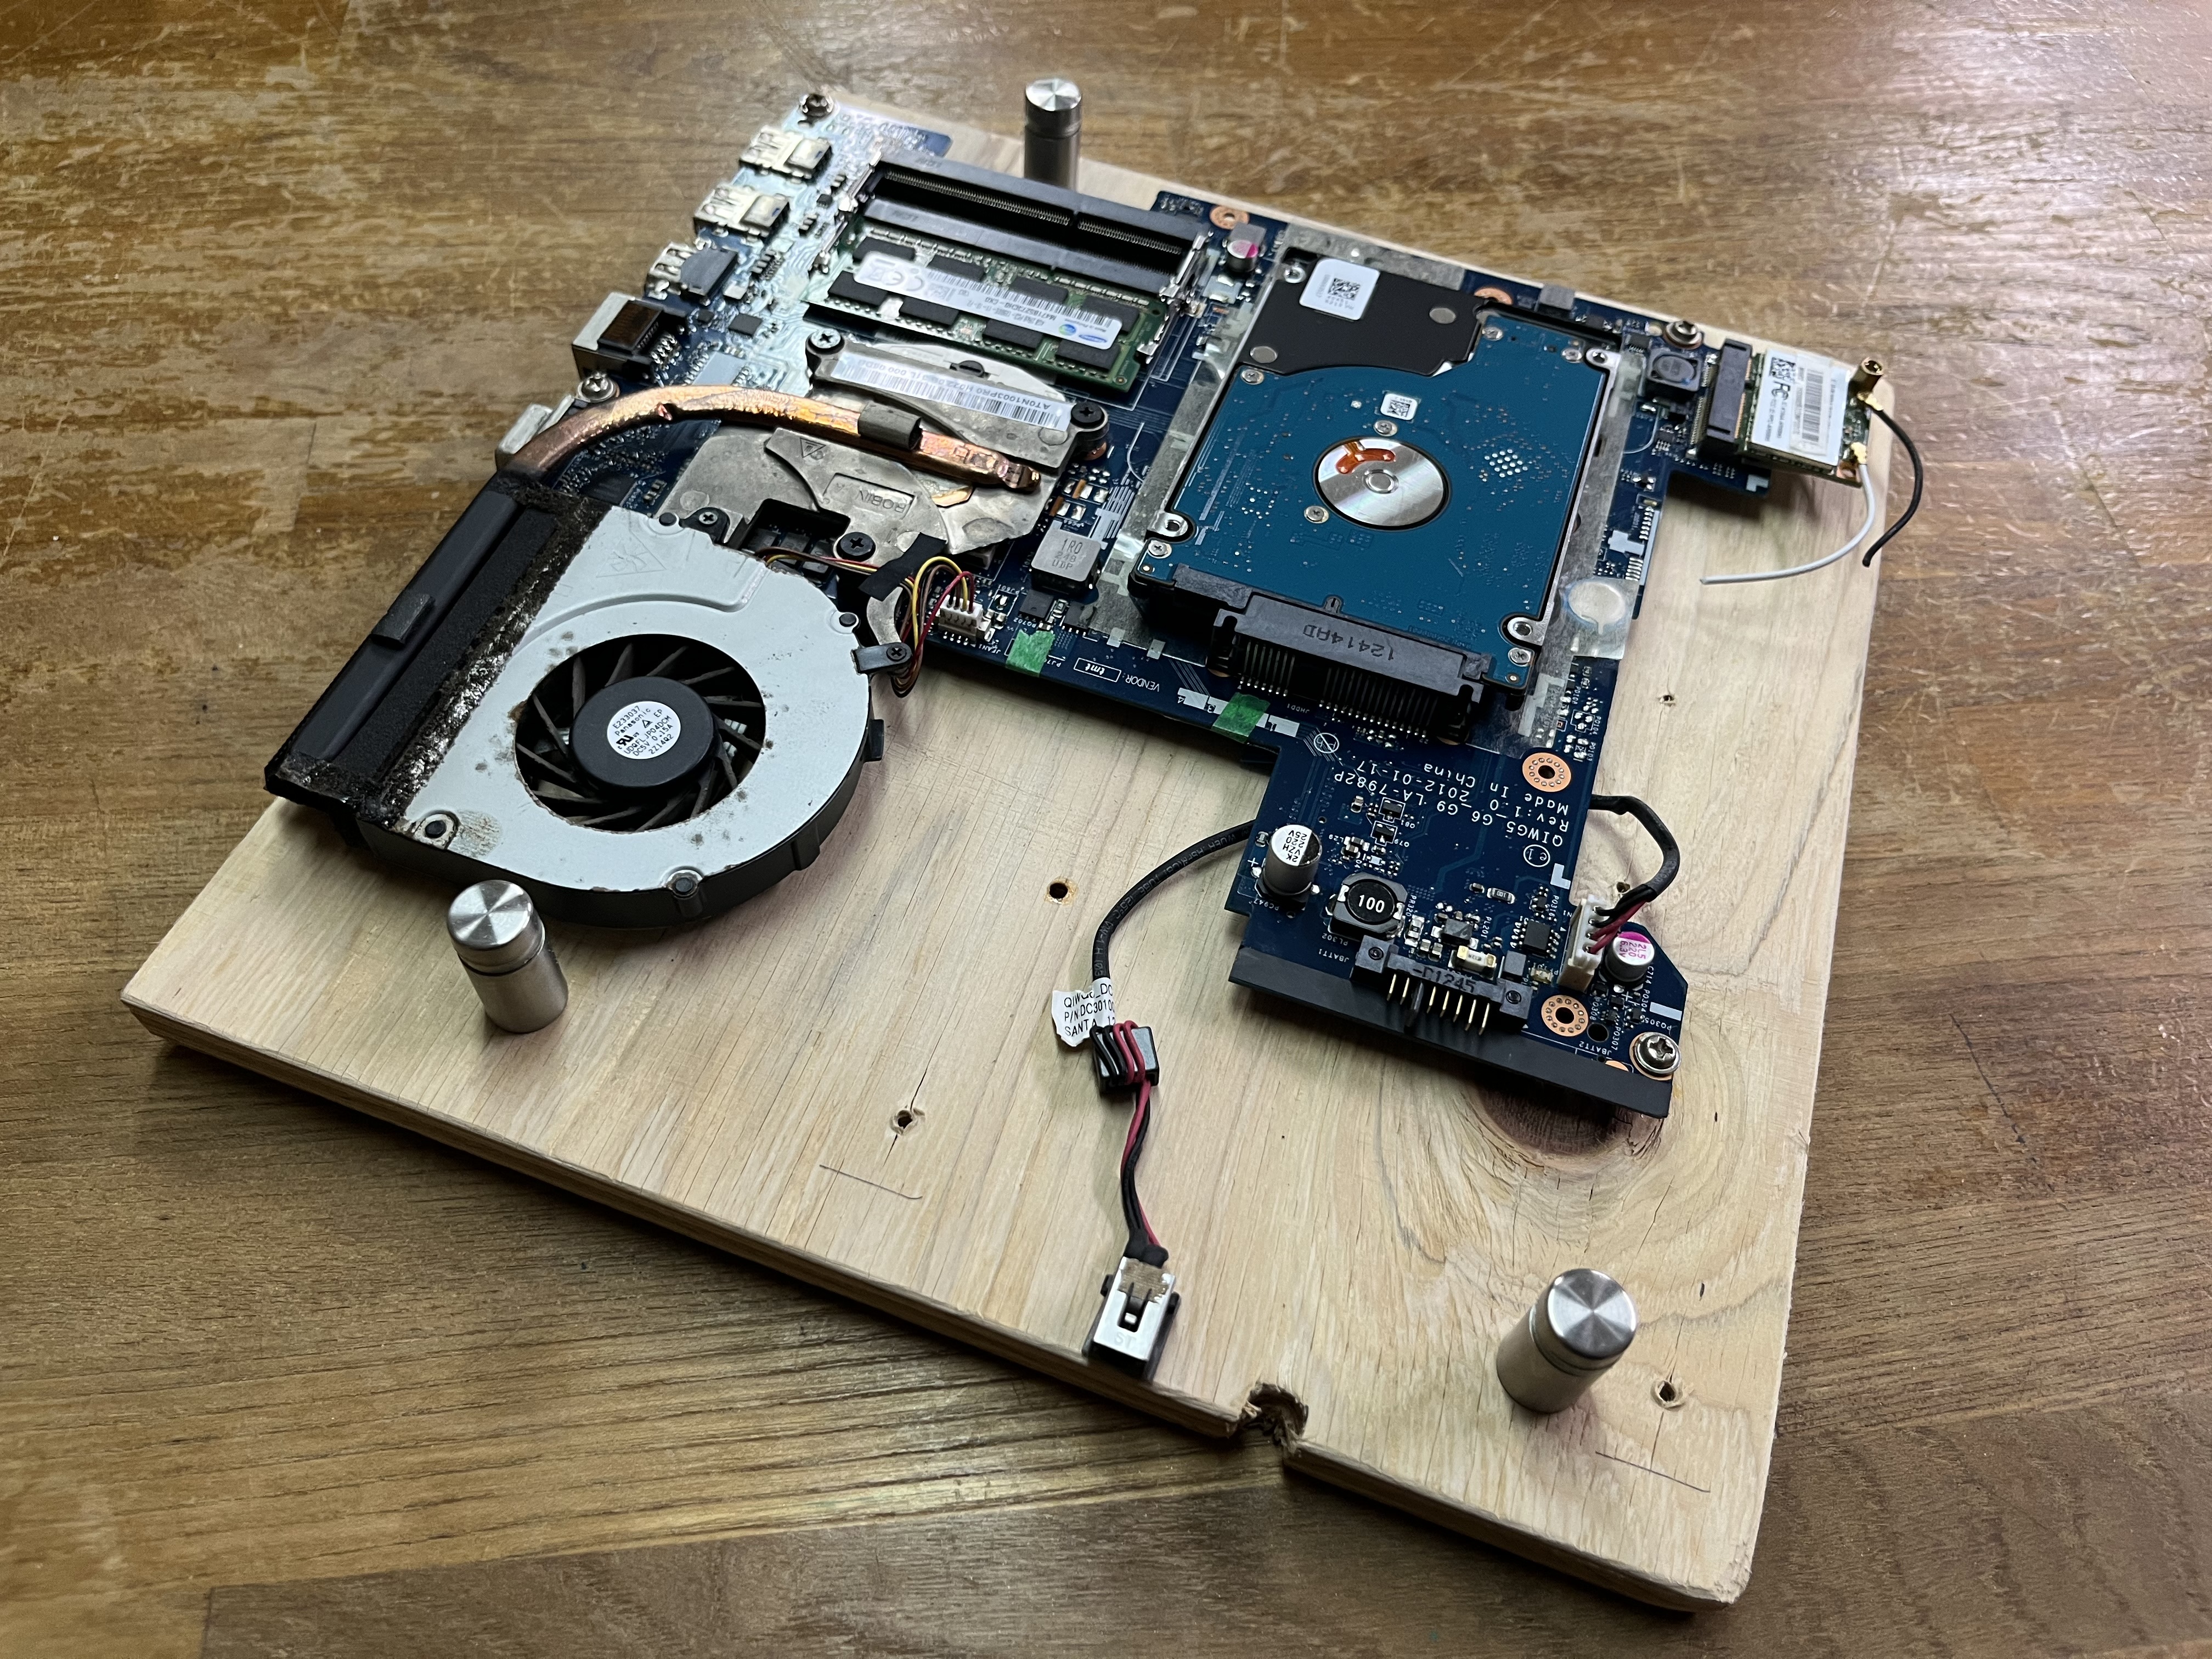
ノートPCをぶっ壊して取っ手付きPCを作ったお話の続き
ノートPCをぶっ壊して取っ手付きPCを作る
https://gacreate.com/blog/1/
結局このPCは全く使わなかったので、有効活用しようと自宅サーバーになってもらう事にしました。
HDDを新品SSDに変更してWindowsはやめてLinuxを入れます。
USBにLinuxのイメージを入れて起動したが、画面が真っ暗なままなにも操作できない
USBブートが出来ていないので、BIOSでUSBブート出来るように設定しなければならない
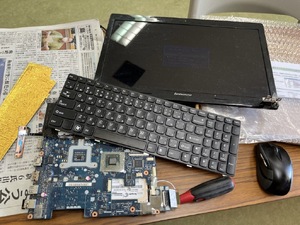
OSが立ち上がるまでは外部ディスプレイに表示されないので、元々のディスプレイを繋げて
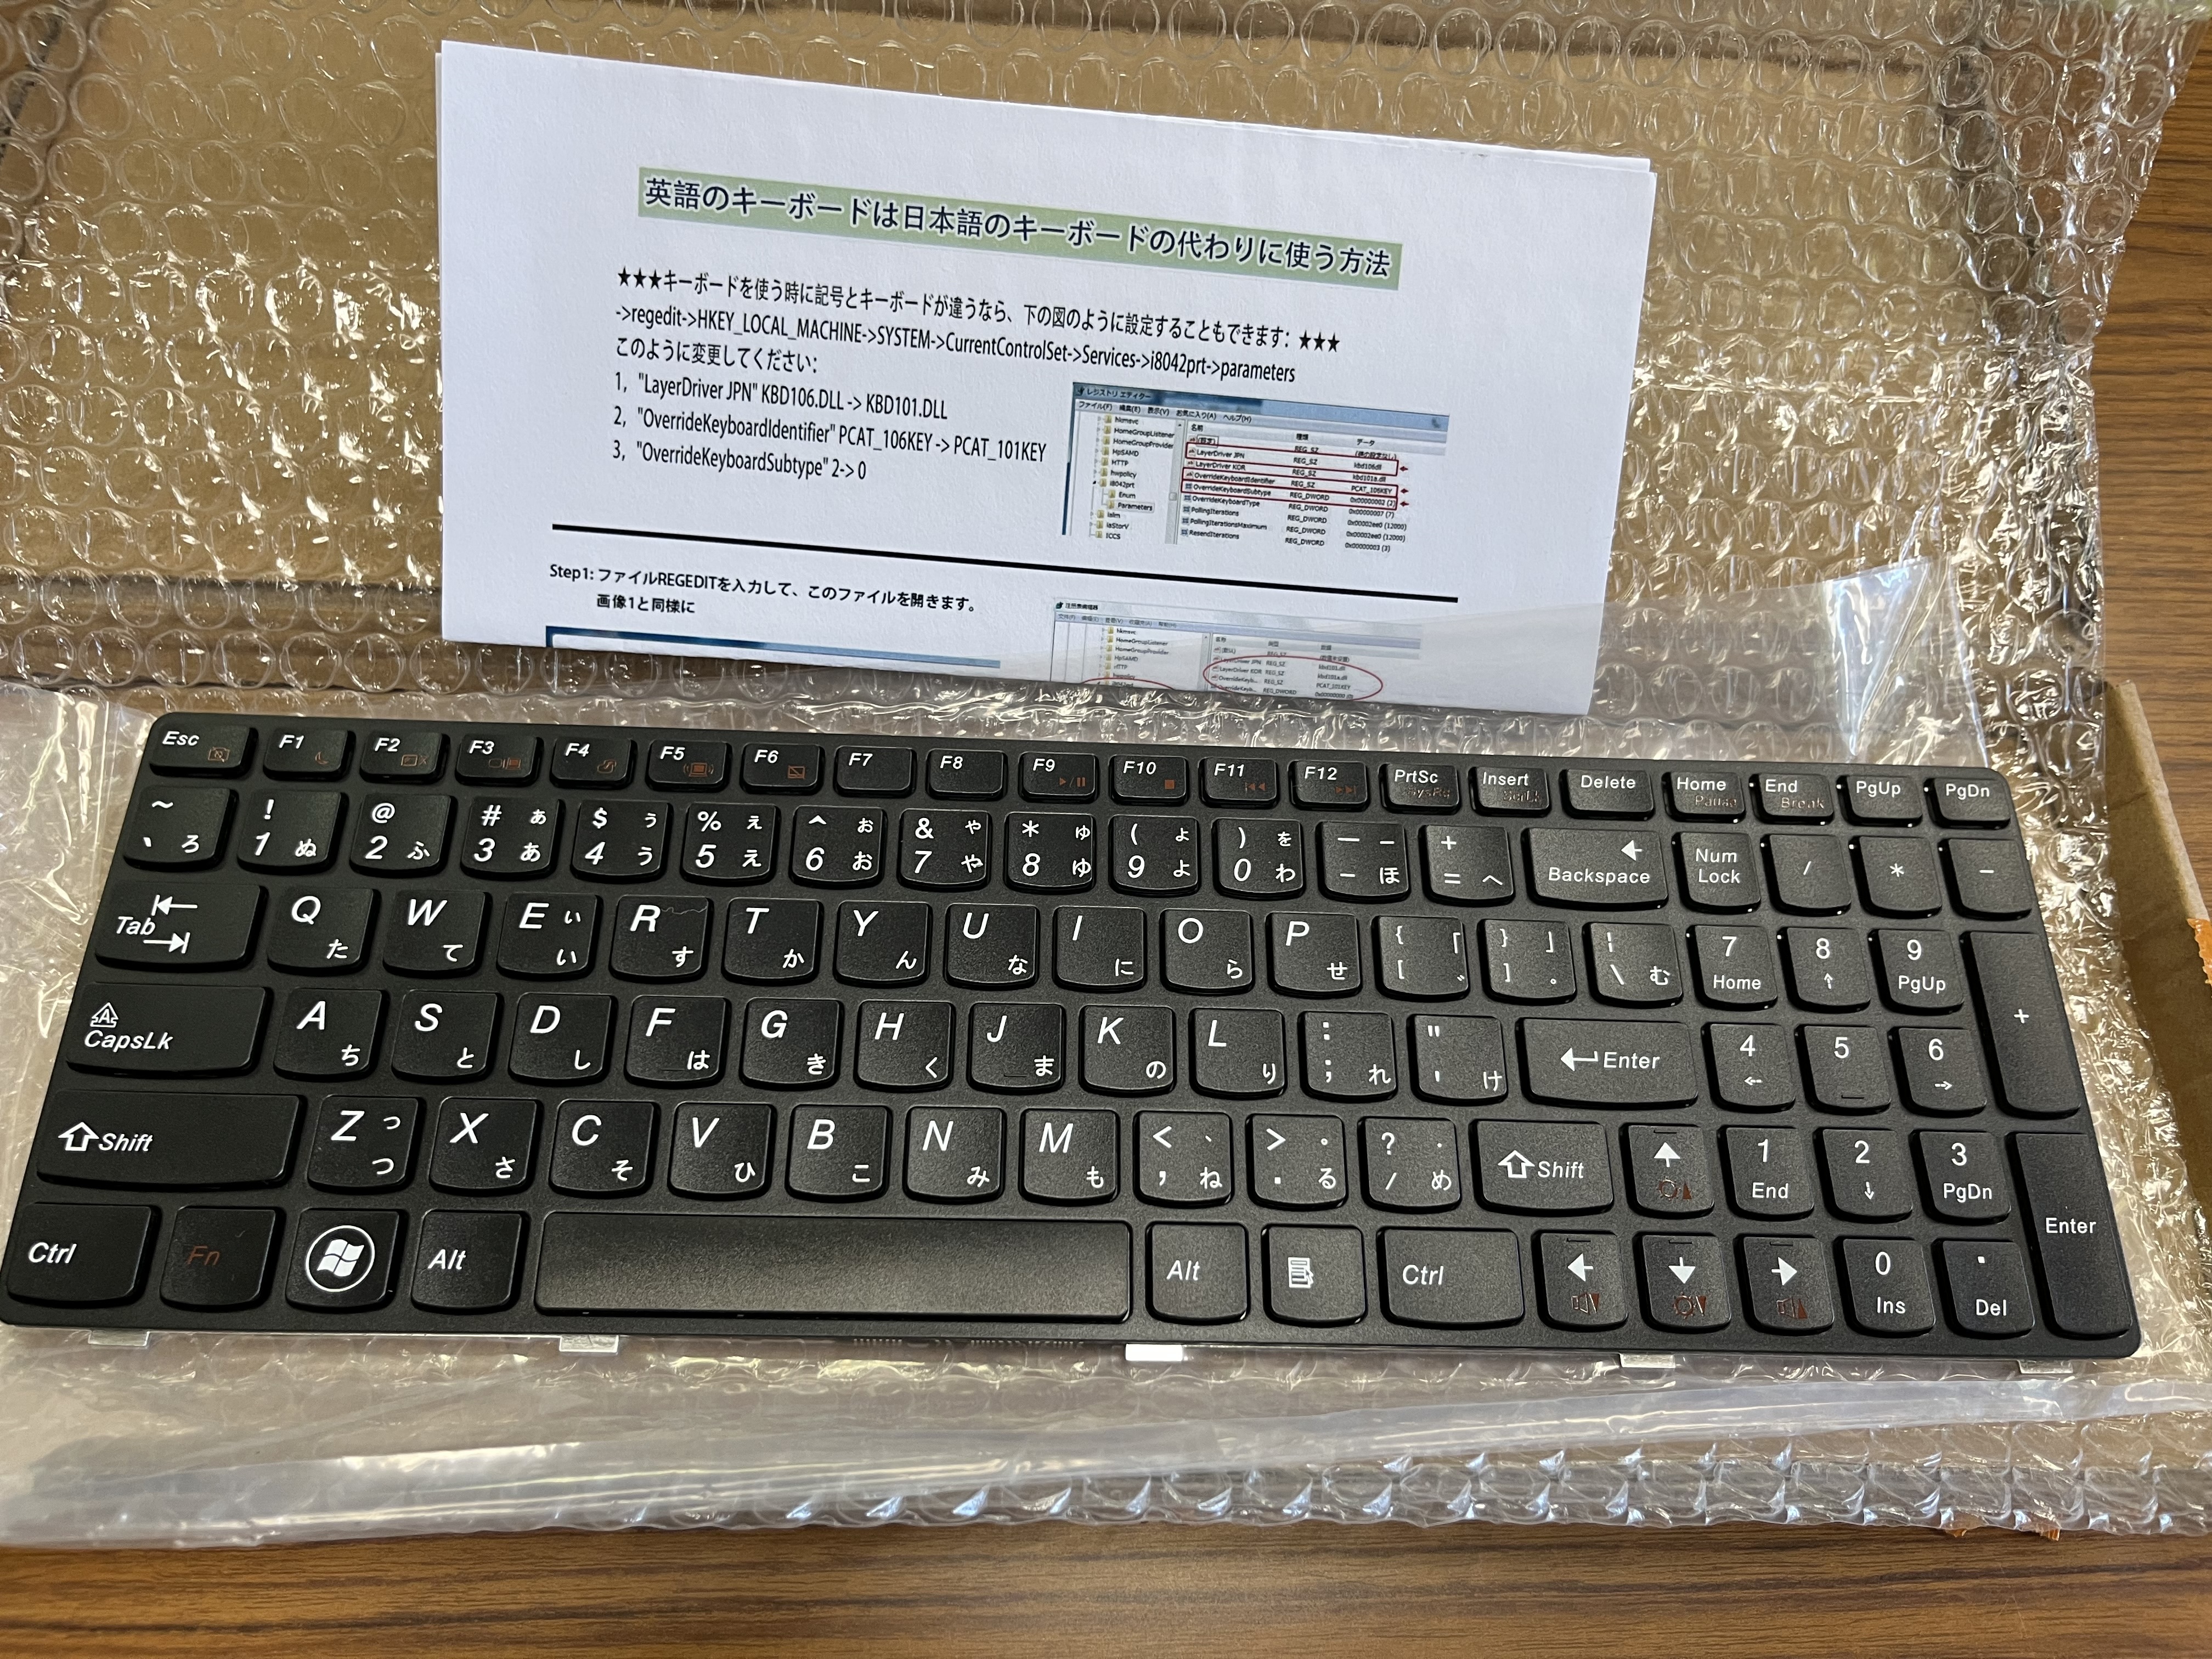
USBでキーボードを接続したがキーボードの操作ができない!BIOSに入れない!!
分かった事は、
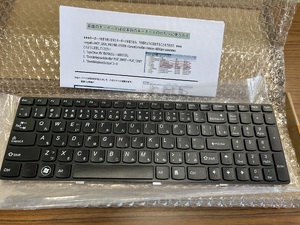
捨てた元々のキーボードじゃないと操作ができない!!!
という事でポチりました。2000円程度。
カオスな状態だけど、これで無事Linuxをインストール
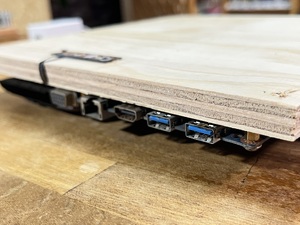
もうディスプレイもキーボードもいらないので、板をマザーボードのサイズに切断

コネクタ関係は挿しやすく
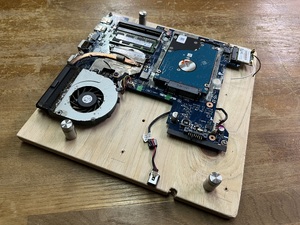
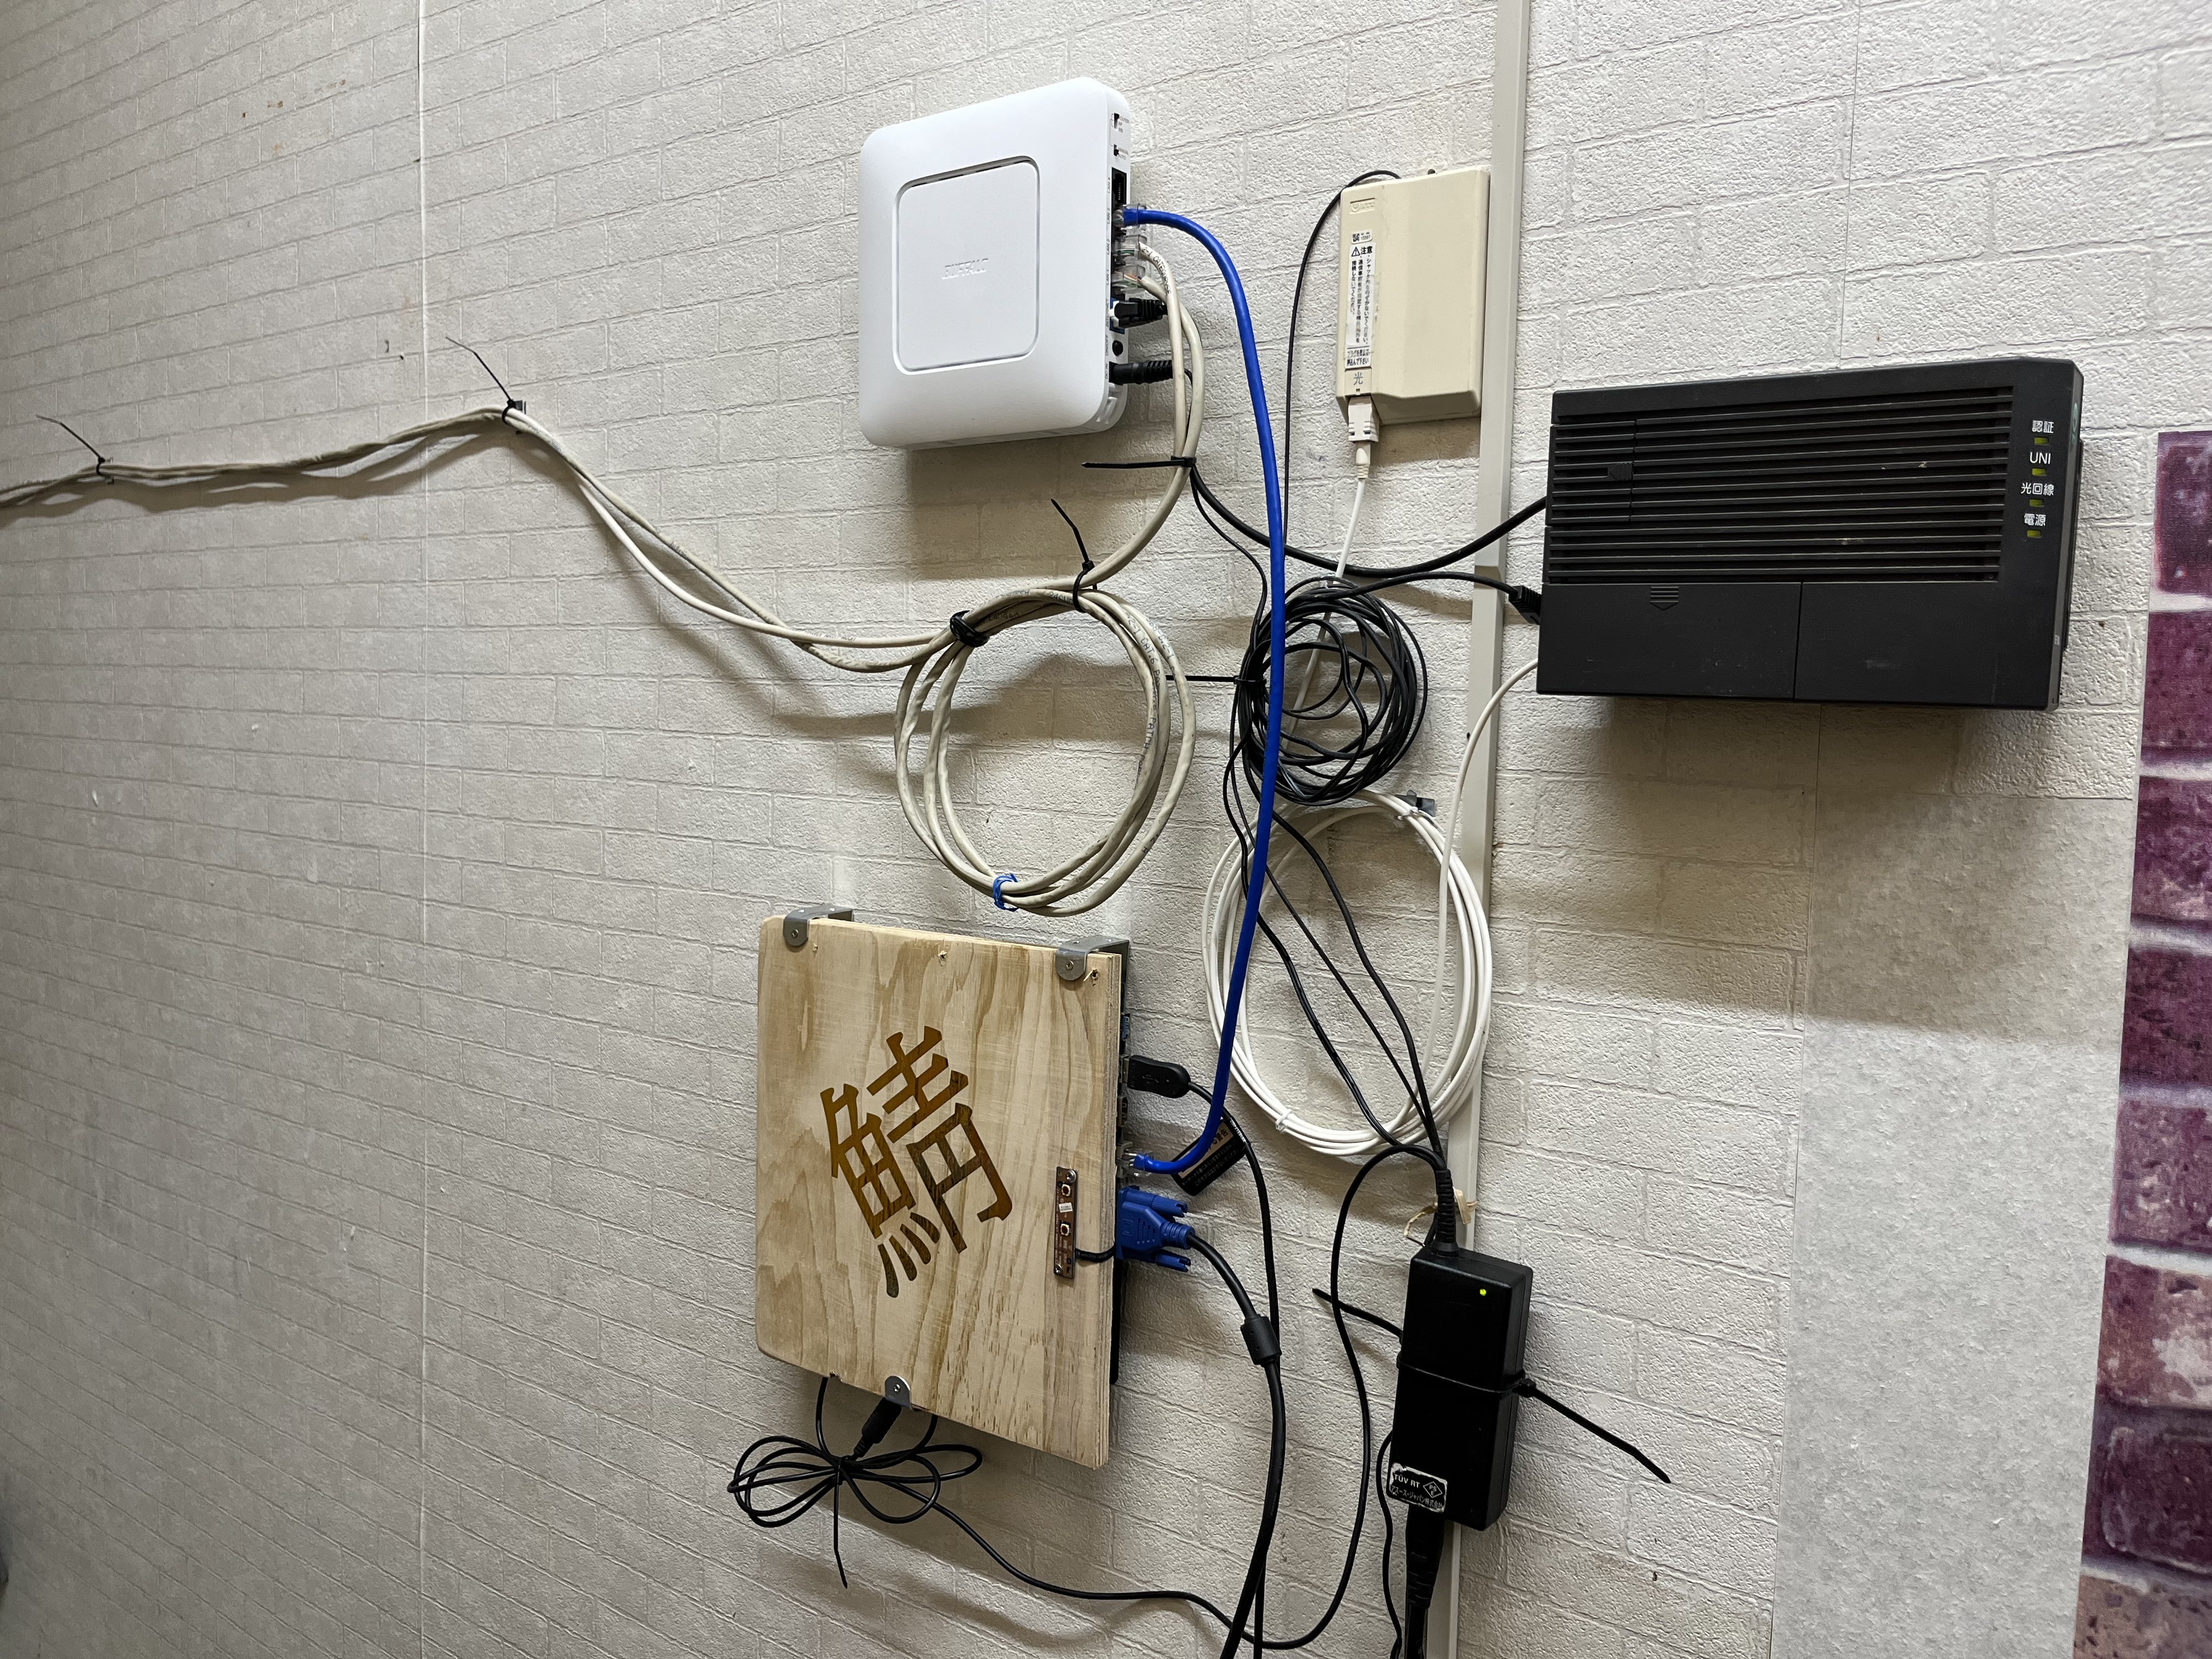
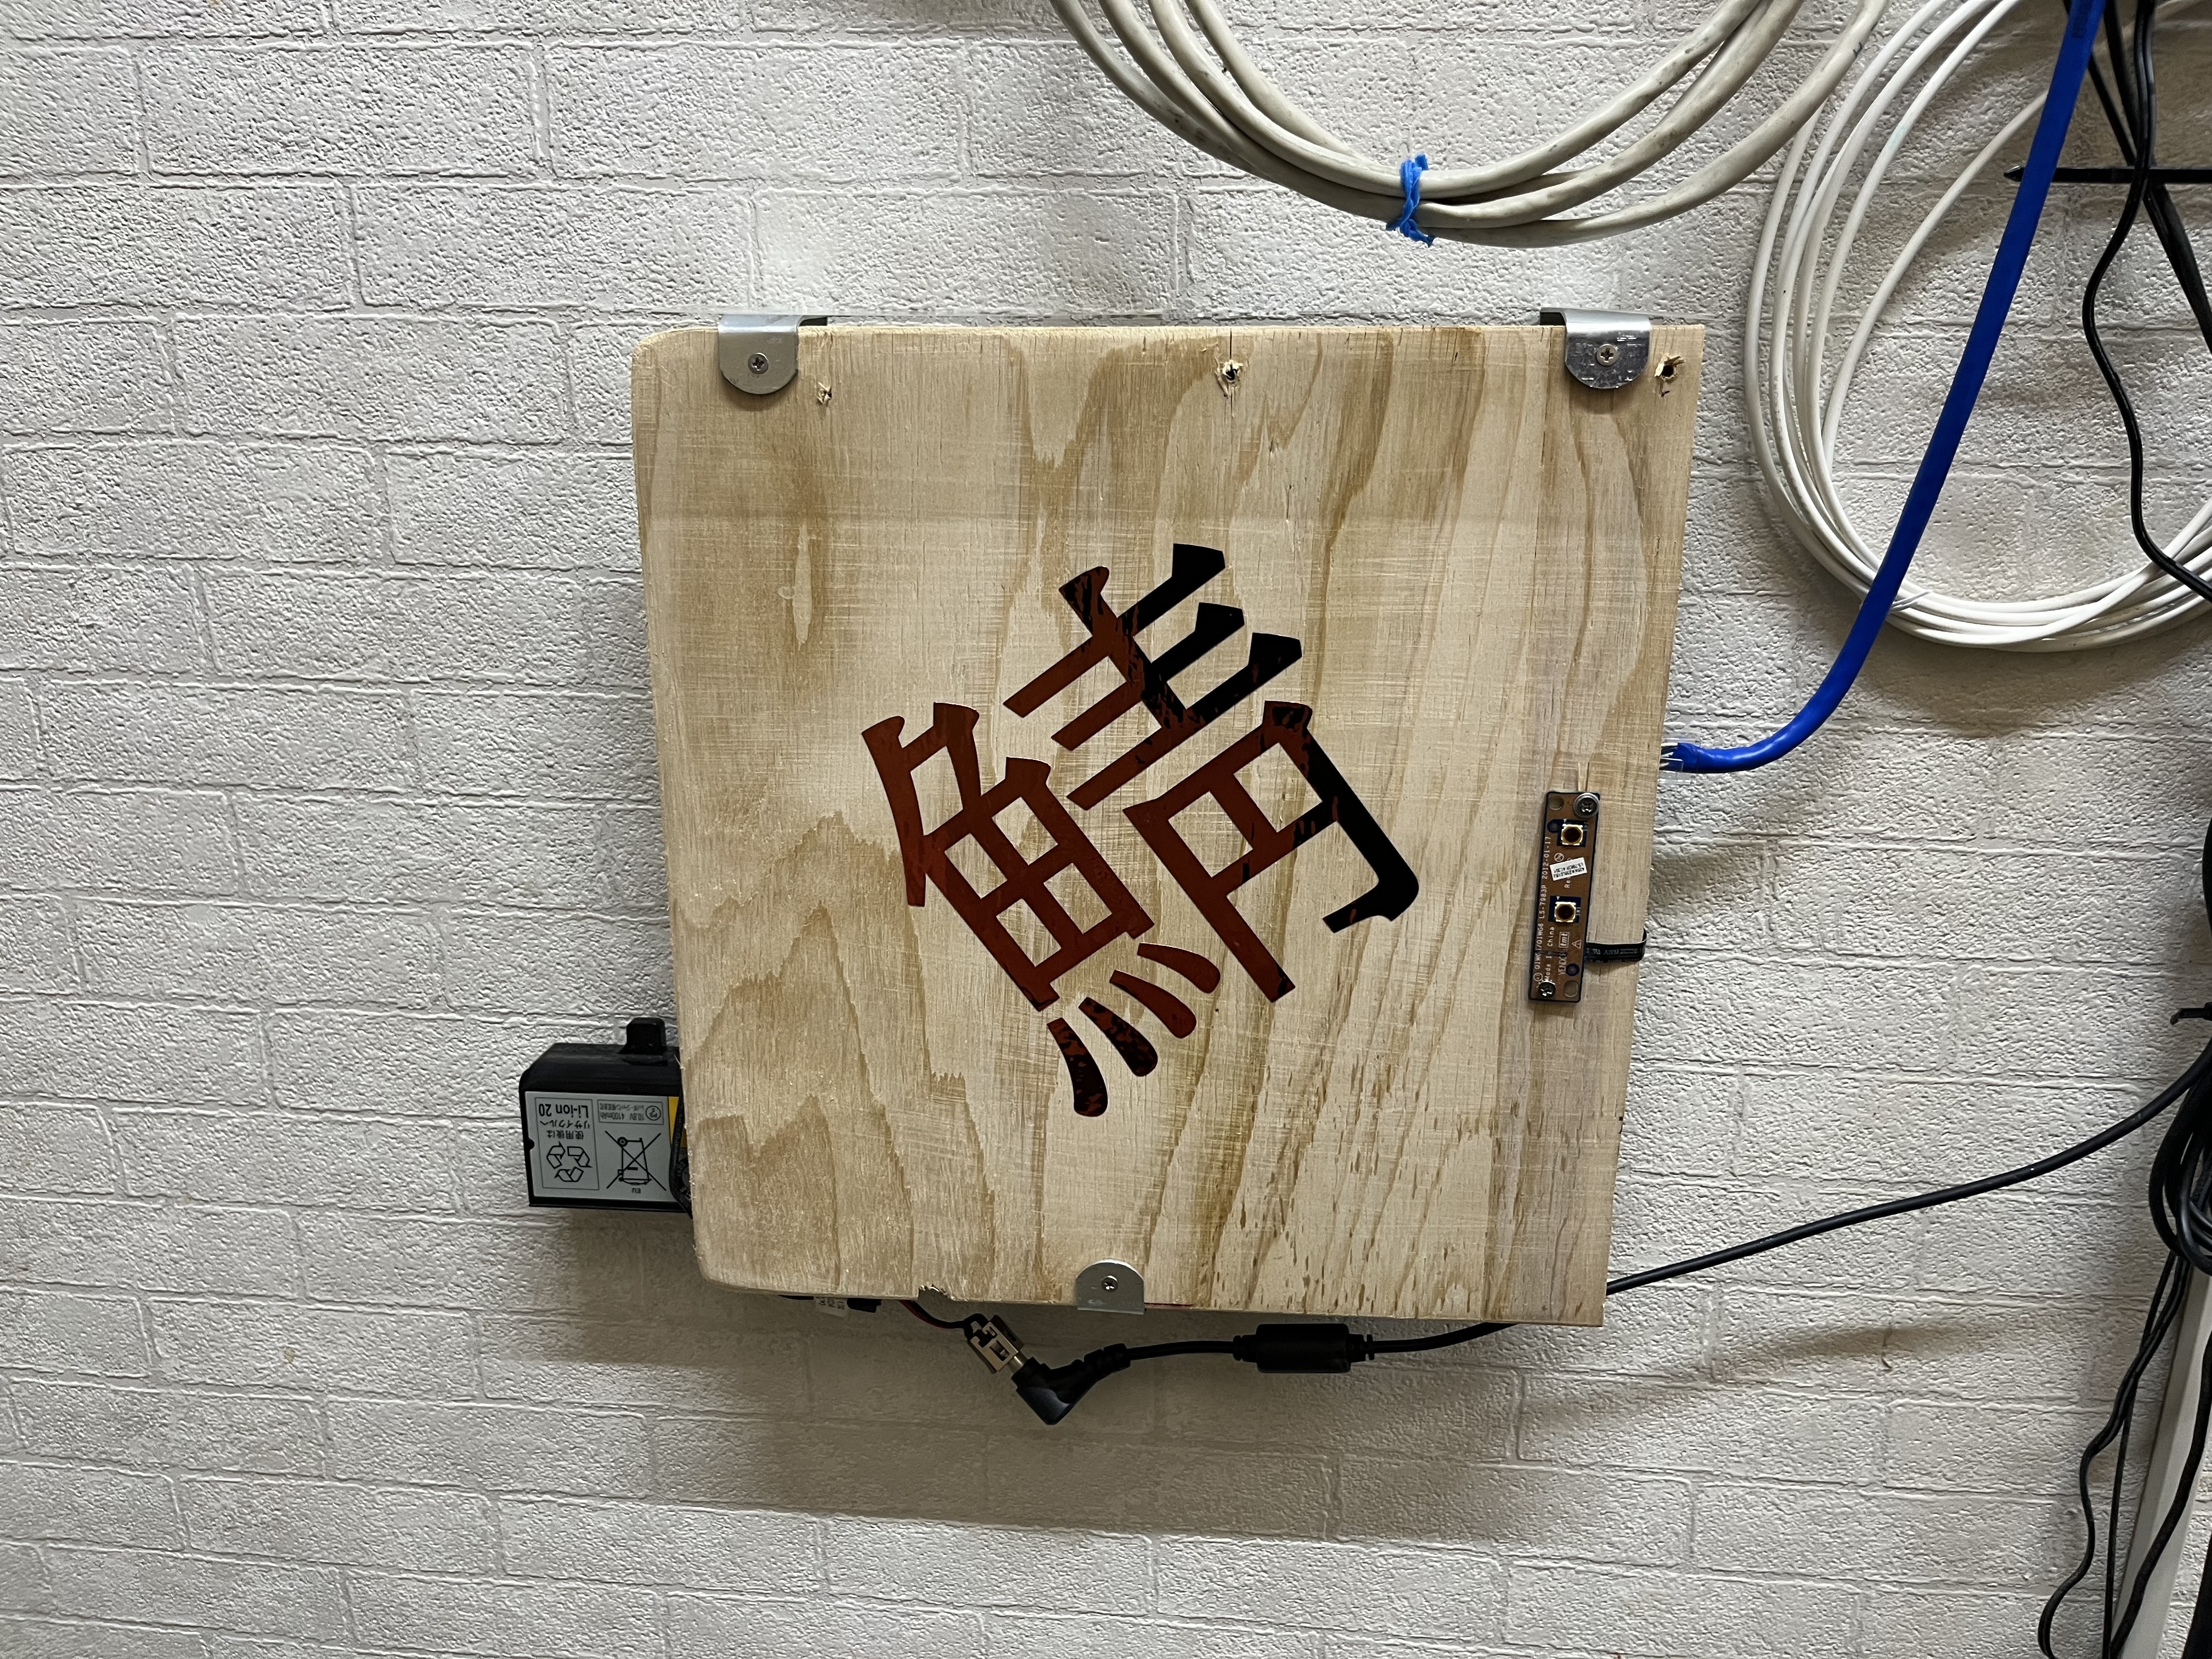
デスク周りだと置き場所に困るので、ルーターの側に壁止めする事に
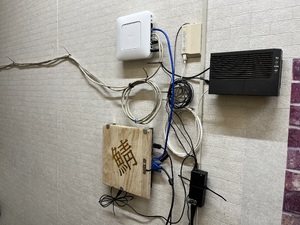
アダプタだけだと、何故か電源が落ちてしまいがちなので、バッテリーも付ける事にしました
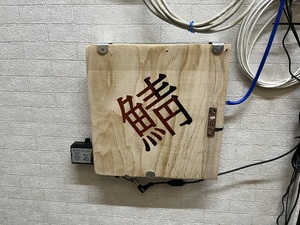
これで、ゴミ同然のPCが自宅サーバーとして生まれ変わりました。
このサーバーになんの作業をさせるかは決まってませんが・・
ノートPCのマザーボードでこんな事をしたのは初めてなので、色々と勉強になりました。
ノートPCをぶっ壊して取っ手付きPCを作る
https://gacreate.com/blog/1/
結局このPCは全く使わなかったので、有効活用しようと自宅サーバーになってもらう事にしました。
HDDを新品SSDに変更してWindowsはやめてLinuxを入れます。
USBにLinuxのイメージを入れて起動したが、画面が真っ暗なままなにも操作できない
USBブートが出来ていないので、BIOSでUSBブート出来るように設定しなければならない
OSが立ち上がるまでは外部ディスプレイに表示されないので、元々のディスプレイを繋げて
USBでキーボードを接続したがキーボードの操作ができない!BIOSに入れない!!
分かった事は、
捨てた元々のキーボードじゃないと操作ができない!!!
という事でポチりました。2000円程度。
カオスな状態だけど、これで無事Linuxをインストール

もうディスプレイもキーボードもいらないので、板をマザーボードのサイズに切断

コネクタ関係は挿しやすく

デスク周りだと置き場所に困るので、ルーターの側に壁止めする事に
アダプタだけだと、何故か電源が落ちてしまいがちなので、バッテリーも付ける事にしました
これで、ゴミ同然のPCが自宅サーバーとして生まれ変わりました。
このサーバーになんの作業をさせるかは決まってませんが・・
ノートPCのマザーボードでこんな事をしたのは初めてなので、色々と勉強になりました。
ブログなどにコードを載せる時<pre>タグを使ってコードを書くとエスケープせずにそのまま表示されるので便利。
行番号も表示されたら見やすくなるかなと思い調査。
調べると、行番号を表示させるのにプラグインを使ったり、
難しい事ばっかりやってるサイトだらけなので、考えてみた。

line1,line2,line3の左にナンバリングするにはを考える。
リストにすれば出来そうなので、
line(n)を<li>タグで囲んでJavaScript(jQuery使用)で置換します。
置換されたHTMLはこうなります。
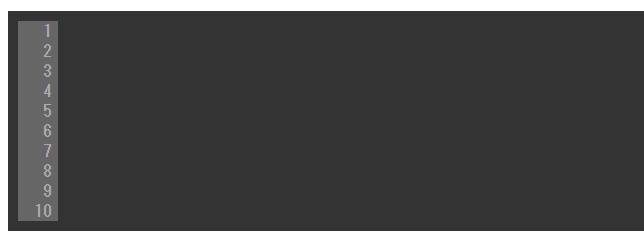
あとはCSSでカスタマイズしていきます。
好きなようにCSSでデザインを調整すれば、完成です。
さらっと書いたけど、思いつくのに5時間以上かかった😂
行番号も表示されたら見やすくなるかなと思い調査。
調べると、行番号を表示させるのにプラグインを使ったり、
難しい事ばっかりやってるサイトだらけなので、考えてみた。
line1,line2,line3の左にナンバリングするにはを考える。
<pre class="code">
line1
line2
line3
</pre>
リストにすれば出来そうなので、
line(n)を<li>タグで囲んでJavaScript(jQuery使用)で置換します。
if($('.code').length > 0) {
  //1ページ内に<pre>タグを何個も書く事もあるので要素の数だけループさせます
  $('.code').each(function(i) {
    //<pre class="code">内のを改行コード前の文字を<li>タグで囲って置換して
    //<pre class="code">内に入れ直します
    $(this).html($(this).html().replace(/(.*)\n/g, "<li>$1</li>"));
  });
}
置換されたHTMLはこうなります。
<pre class="code">
<li>line1</li><li>line2</li><li>line3</li>
</pre>
あとはCSSでカスタマイズしていきます。
.code {
  /* preをリスト要素に変換します */
  display: list-item;
  /* カウンターをリセット */
  counter-reset: item;
}
.code > li {
  /* スタイルを破棄 デフォルトで定義されてる「・」や「1.」は使わない */
  list-style: none;
}
.code > li:before {
  width: 35px;
  text-align: right; /* 数字を右寄せ */
  display: inline-block;
  counter-increment: item; /* カウントアップ */
  content: counter(item); /* カウントされた数字を表示 */
}
好きなようにCSSでデザインを調整すれば、完成です。
list1
list2
list3
さらっと書いたけど、思いつくのに5時間以上かかった😂